EXASOL makes real-time analysis of large volumes of data possible in by combining in-memory technology, massively parallel processing (MPP) and column-based storage and compression.
Follow the steps below to connect Yellowfin to your EXASOL database:
Step 1: Download EXASOL JDBC Driver.
Download the latest version of the EXASOL JDBC Driver
here .Yellowfin does not ship with this driver due to licensing reasons.
Execute the installer you downloaded and locate the exajdbc.jar file.
Step 2: Add the Driver in Yellowfin.
Access the Yellowfin Plugin Management page within the Admin Console.

Click on the Add button at the bottom of the existing plugins list and provide a name and description for the plugin.

Drag and drop your JDBC driver (exajdbc.jar) file into the area provided.

Once Yellowfin has finished processing your file, click Submit. You will now see the driver in the list.

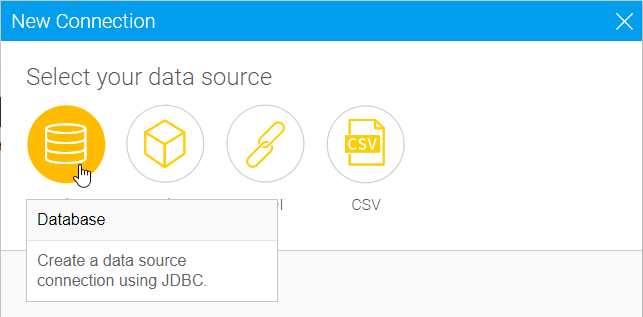
Step 3: Adding a Data Source in Yellowfin.
Click on Create to add a new Data Source.

Click on Database as your Data Source.
Give you Data Source a Name and Description and choose “Exasol” from the available database options. New configuration fields will appear on doing so./p>

Select the “Include Schema in SQL” checkbox to add the schema name when addressing database tables in SQL queries.

Enter the name or IP address of the server hosting the Exasol database in the Database Host field.

Yellowfin will display the default TCP/IP port number for this connection. Make sure this is the port that your database is running on.

Specify the default schema that should be opened after login. I am using the demo schema provided by Exasol as an example.

The JDBC driver to talk to your Exasol database will be selected. A list of all additional drivers will be displayed if available.

Enter the username and password of your database account.

You can now Test your connection to validate the above parameters and ensure that you can connect to your database.