
You can add multiple users at once by making use of the bulk import process.
In this guide, I will show you step by step instructions on how easy it is to import your users using a Bulk Import.
Before you start you would need to create a CSV (comma separated values) file that contains the user’s data and import this file using the User Management function in Yellowfin.
It is important to note that you must have “User Management” access enabled in your security role to bulk import users.
Step 1: Setup the CSV file
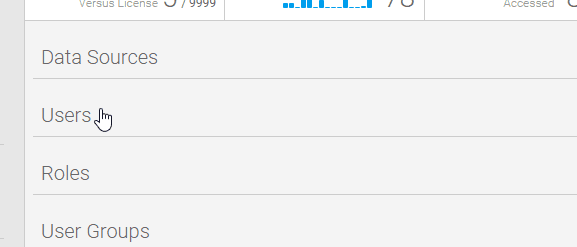
- Navigate to the User Management function in the Administration Console.
Administration -> Admin Console -> Users.
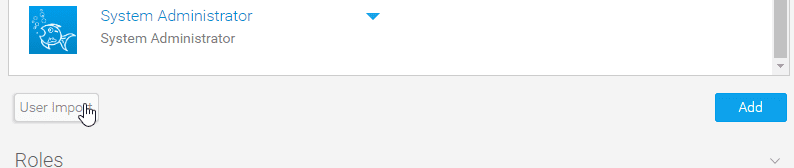
- Click on the User Import button below the list of users. This will give you an example layout of the CSV file.

- Create your own CSV file using your favorite text editor. Remember, the data should be contained within quotes.
The following table lists the fields that should be included in the file:First Name Enter the user’s first name Last Name Enter the user’s last name Initials Enter the user’s initials. This field can be left blank. Salutation Code Enter the user’s salutation. This field can be left blank. Language Code This is the user’s preferred language. Yellowfin use the ISO 639-1 standardization nomenclature to classify languages. You can find a complete list of the language codes here. Time Zone Code The User’s Time Zone. This field is mandatory. Click here for a full list of the available time zones. Email Address Enter the user’s full email address Username The user’s username that will be used when logging into Yellowfin Password Enter the user’s password Role Code The Security Role that should be linked to the user. For a full list of available Role Codes, run the following query against your Yellowfin Repository database:
SELECT * FROM orgrole;Job Description Enter the user’s job description. This field can be left blank. User Status Valid statuses include: - ACTIVE (Active user, can login and receive email)
- INACTIVE (The account cannot login)
- INACTIVEWITHEMAIL (The account can receive email but not login)
Step 2: Import the users
- Click the “Choose File” button to locate and load your CSV file.

- Click the Upload button to load and create your new users.